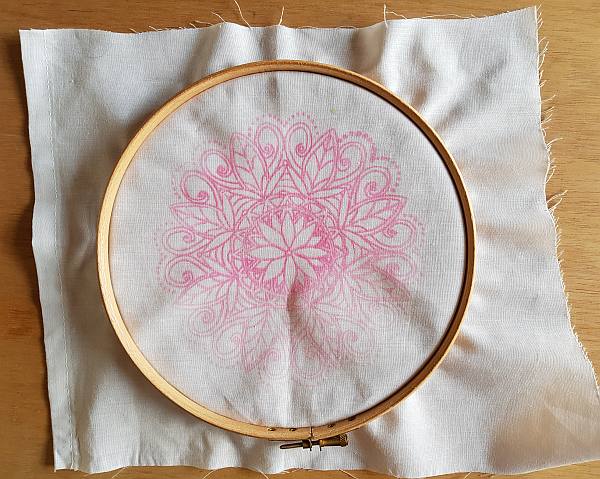
An embroidery hoop is a very useful tool that can be used to keep the fabric that you are working on flat while you sew. This can help to prevent the stitches from puckering up the fabric and helps to keep them even. It is an easy piece of equipment to use, as shown below.
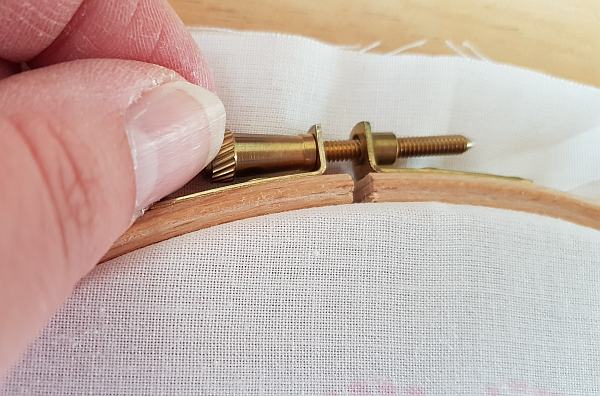
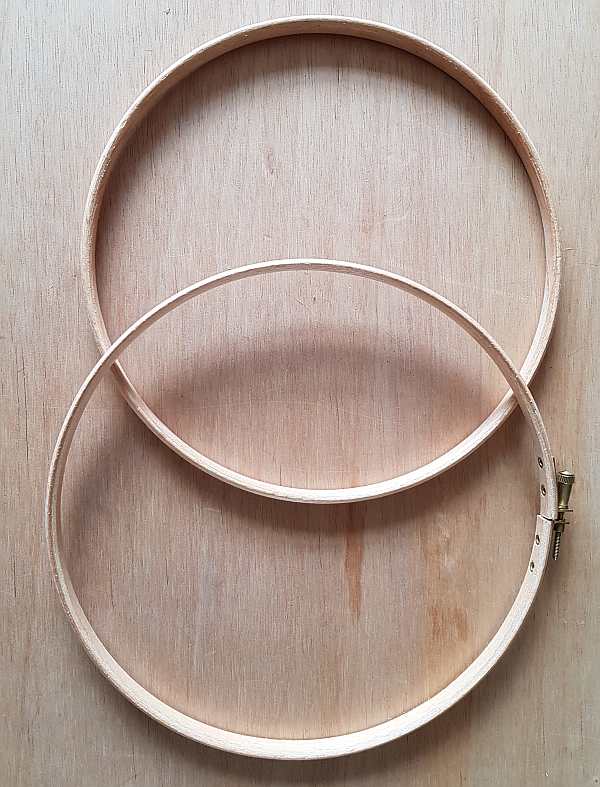
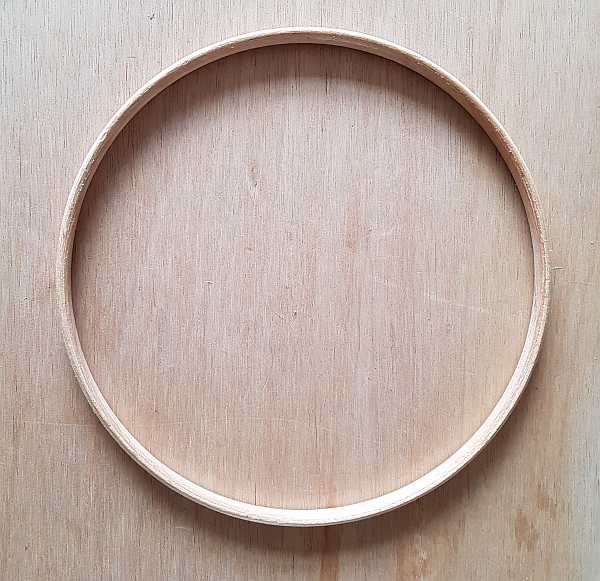
The hoop comes in two parts, an upper and lower ring. The upper ring has a split in the edge and this is held together by a screw device. The lower ring is a solid hoop with no breaks in it.
To mount your piece of fabric, place the lower ring on a flat surface.
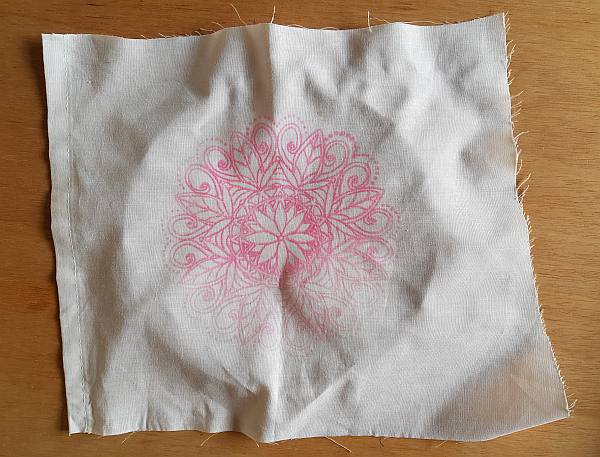
Place your fabric on the top of the ring with the area that you want to sew on in the centre of the ring.
Place the upper ring over the lower ring so that it sits with the lower ring fully inside the upper ring. You may need to adjust the screw to loosen the upper ring if it will not fit over the lower ring. Try not to loosen it too much though, as the firm fit helps to stretch the fabric into place. The ring should also not be too tight to push on as this can damage your fabric. It should push on firmly but without too much effort. The thickness and type of your fabric will dictate how much pressure you can apply without causing damage due to stretching, or even tearing.
Push the upper ring firmly into place, pulling the fabric tight like a drum. The fabric should not show signs of distortion in any direction.
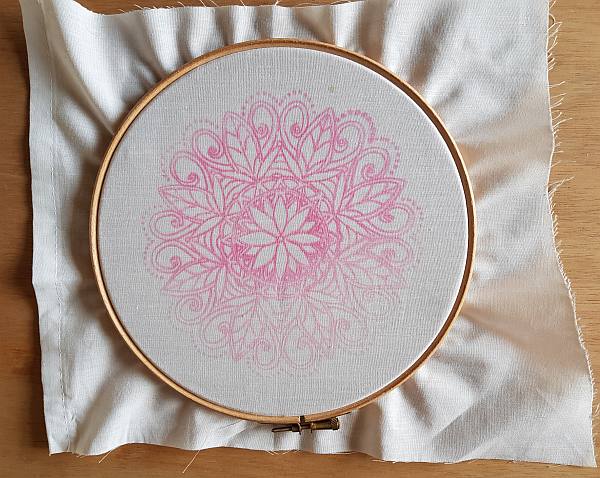
Once the fabric is in place, adjust the screw fastening to tighten the hoop. This will hold the fabric firmly in place while you sew your work.