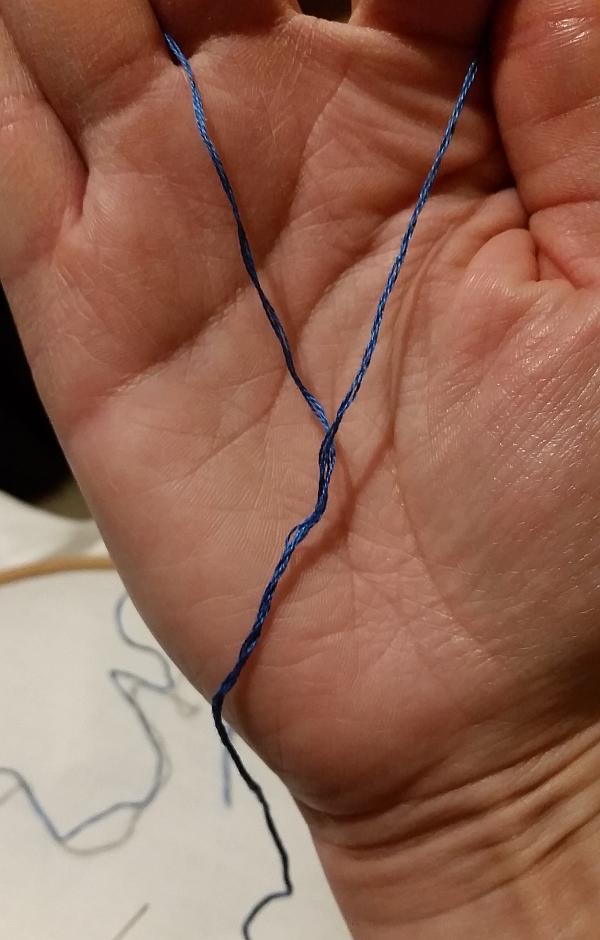
We will be working with 6 stranded embroidery thread. For our purposes we only want to use 3 of the 6 strands, so we need to begin by separating them. Cut a length of thread to work with to a comfortable length. It is best to start with a length similar to the distance between your elbow and fingertips. You can adjust the length to suit yourself as you practice more. Fan out the threads at the end of the strand and divide them so that there are 3 on each side.
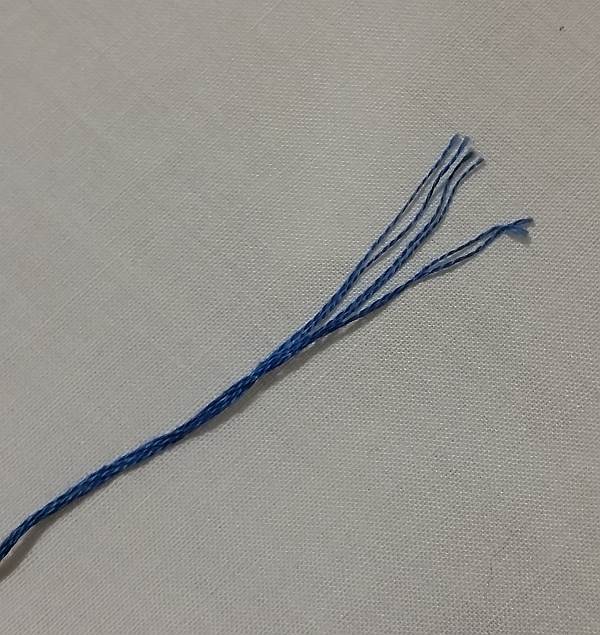
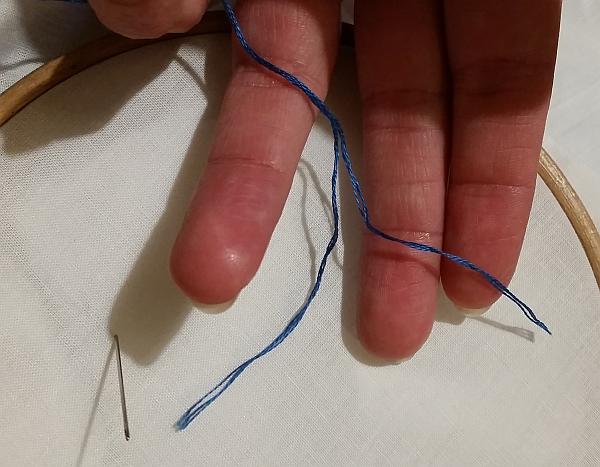
Gently ease them apart by running your finger between the division. Don't try to do this too quickly or they can easily get in a tangle!
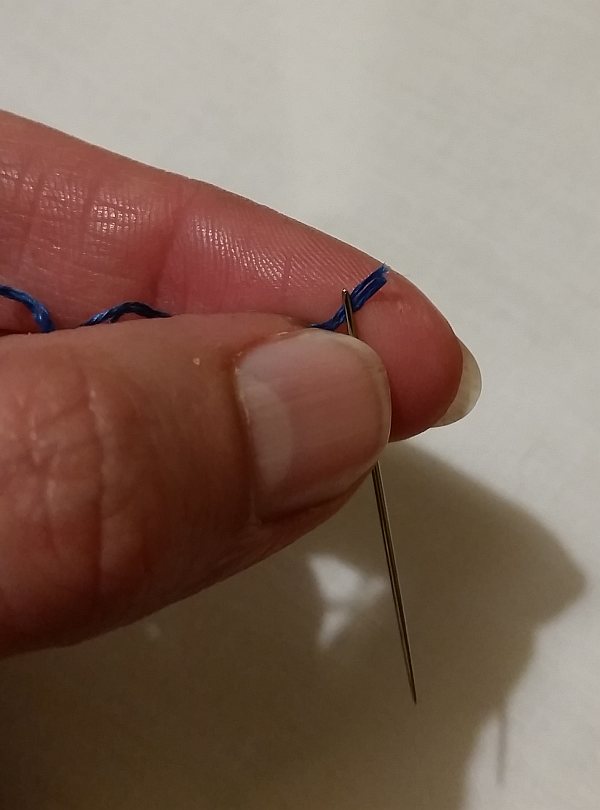
Thread all three strands through the eye of an embroidery needle. These generally have a bigger eye to accommodate multiple threads.
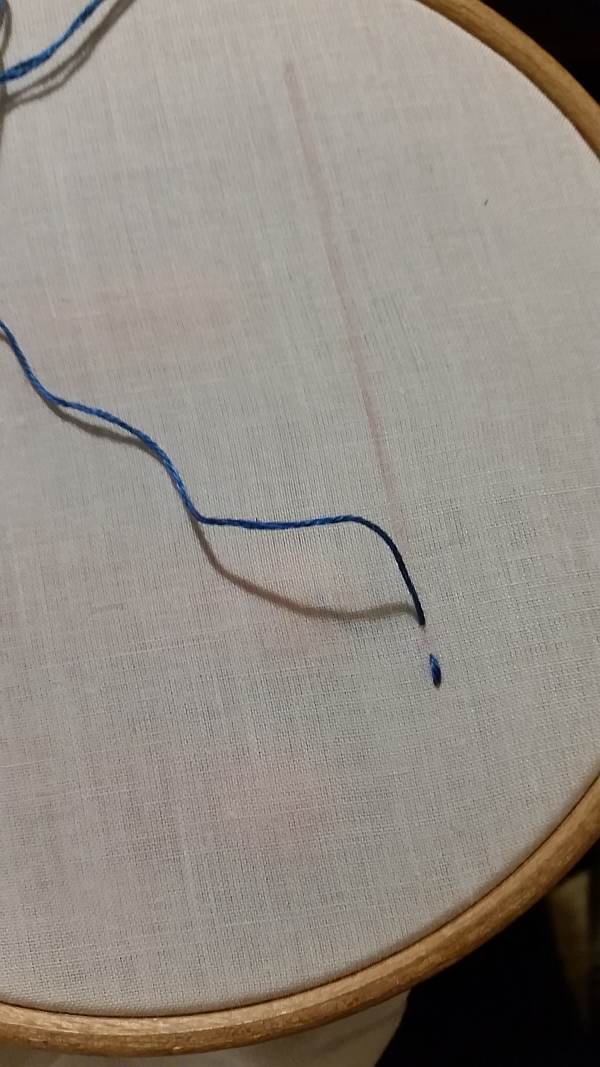
Bring the needle up through your chosen fabric from the reverse side where you want to start sewing. You don't need to put a knot in the thread as this can be bulky and untidy on the back of your work.
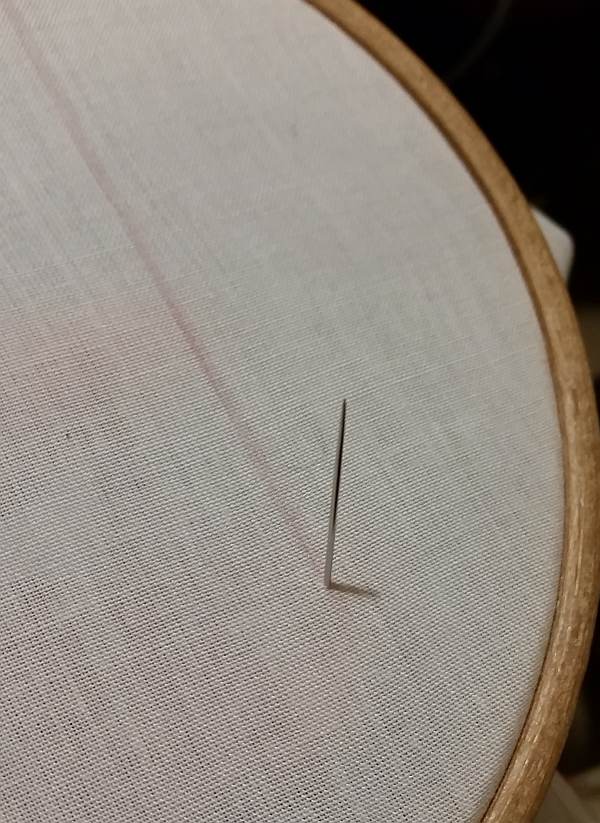
Leave a little tail sticking out on the reverse side of your work and hold this down flat against the fabric while you begin your first couple of stitches. The tail will be woven in as you sew these.
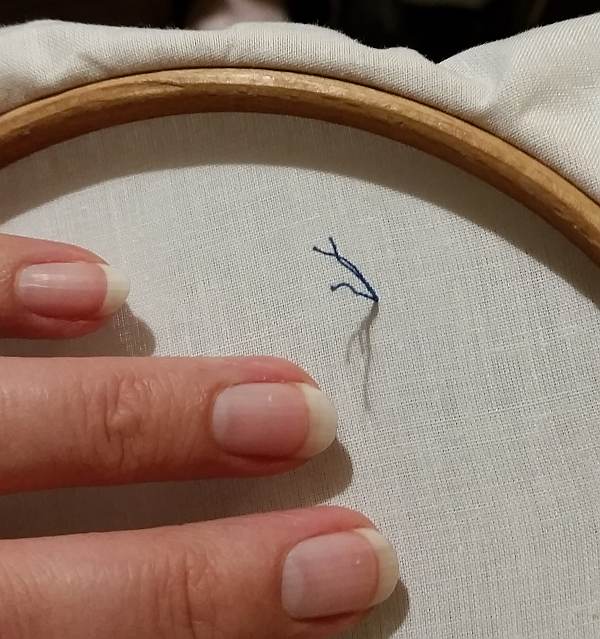
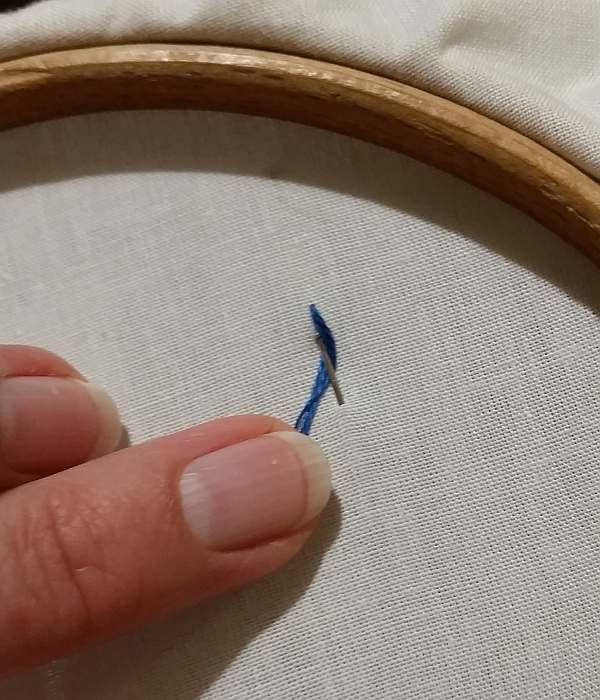
Begin to sew your chosen stitch (see stitch guides for choices). Take care to catch the tail behind the threads on the reverse of the fabric so that it is held down in place.
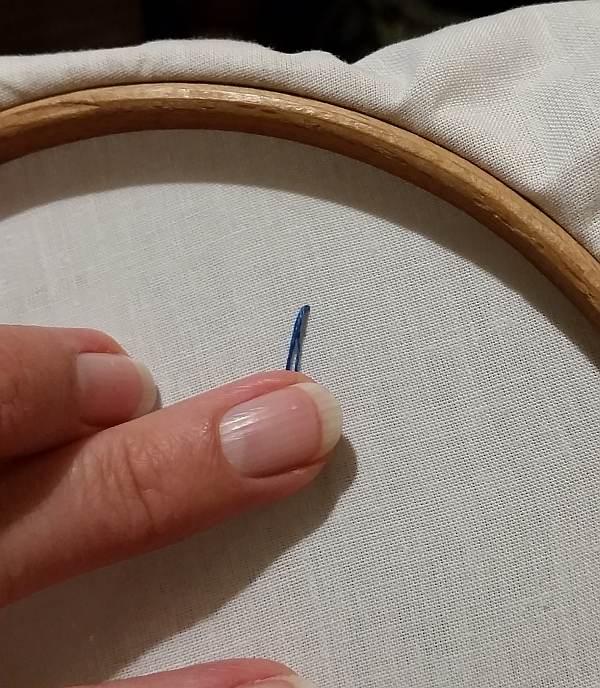
 Front side of fabric.
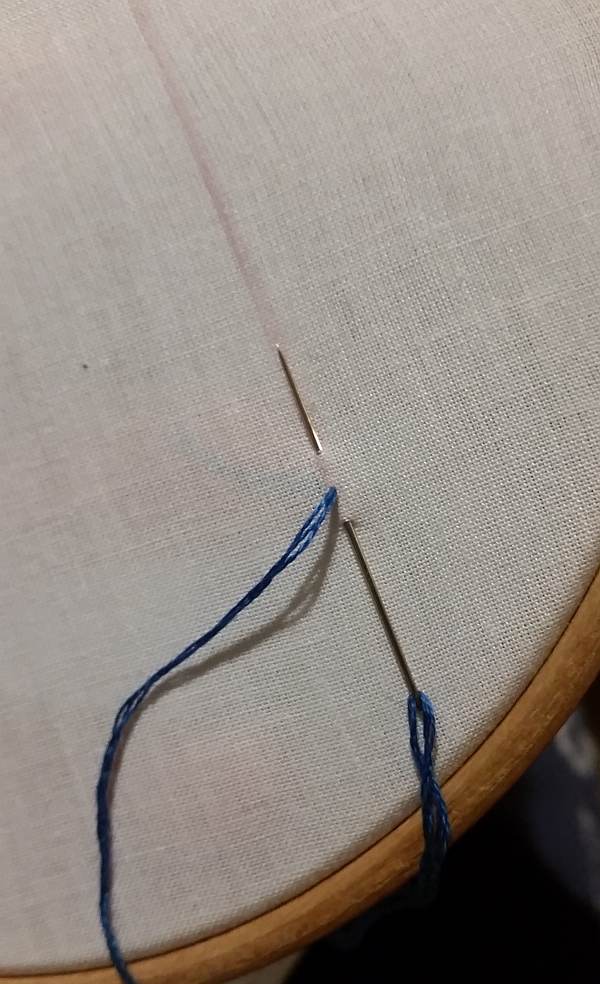
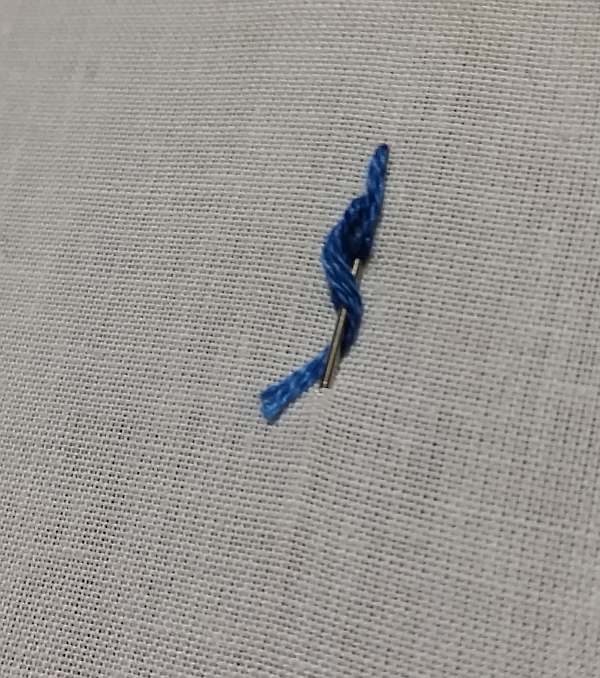 Reverse side of fabric.
Continue sewing your chosen stitch, either freehand or following the lines of your chosen pattern. (The stitch shown in this demonstration is a simple backstitch).
